Painting a White Rose: A Step-by-Step Tutorial
Introduction
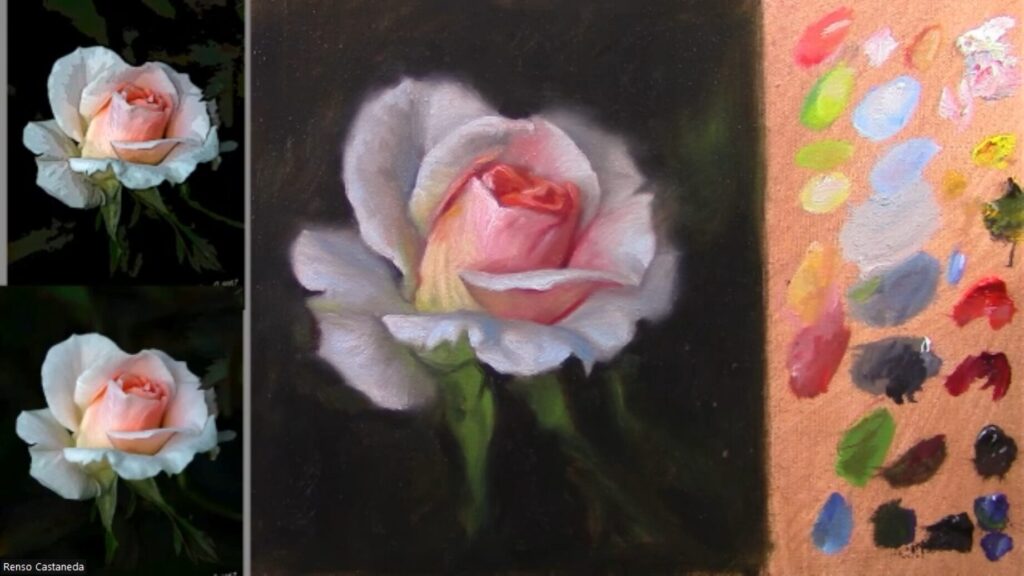
Painting a white rose can be a beautiful challenge, as it requires careful attention to value shifts, edges, and subtle color variations. In this tutorial, we’ll break down the process from the initial sketch to the final details, ensuring a realistic yet soft and atmospheric result.
Materials Needed
- Paints: Titanium White, Lemon Yellow, Cadmium Yellow, Cadmium Red, Alizarin Crimson, Raw Umber, Cobalt Blue
- Brushes: A variety of sizes (including a soft blending brush)
- Surface: Canvas or primed panel
- Other: Charcoal for sketching, paper towels, palette knife, medium (optional)
Step 1: Sketching the Rose
1.1 Establishing the Basic Shape
- Start by lightly sketching the rose using charcoal. Think of the rose as a geometric envelope—a simplified shape that holds the entire form.
- Observe the negative spaces (the shapes between petals) to ensure accuracy.
- Check proportions by stepping back frequently. Adjust if the rose appears too large or small.
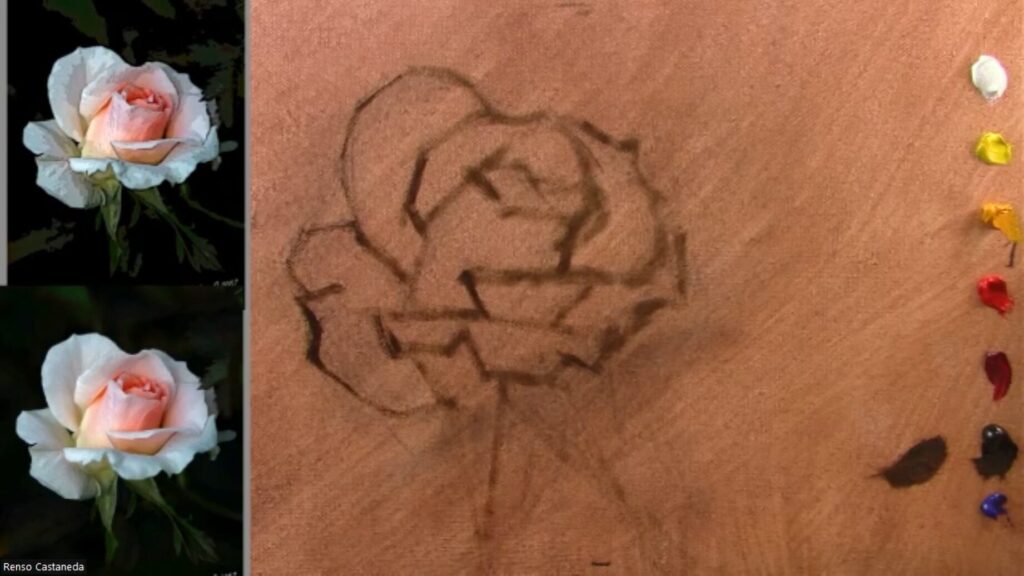
1.2 Breaking Down Petals
- Divide the rose into smaller sections, focusing on basic shapes (rectangles, triangles, curves).
- Pay attention to alignments (e.g., how one petal relates to another).
- Simplify complex areas—for example, the center may resemble a small rectangle, while outer petals may look like triangles.
1.3 Softening the Drawing
- Lightly blend the charcoal lines with a soft brush or cloth to avoid harsh outlines.
- Focus on edges—some will be sharp, while others should remain soft to create depth.
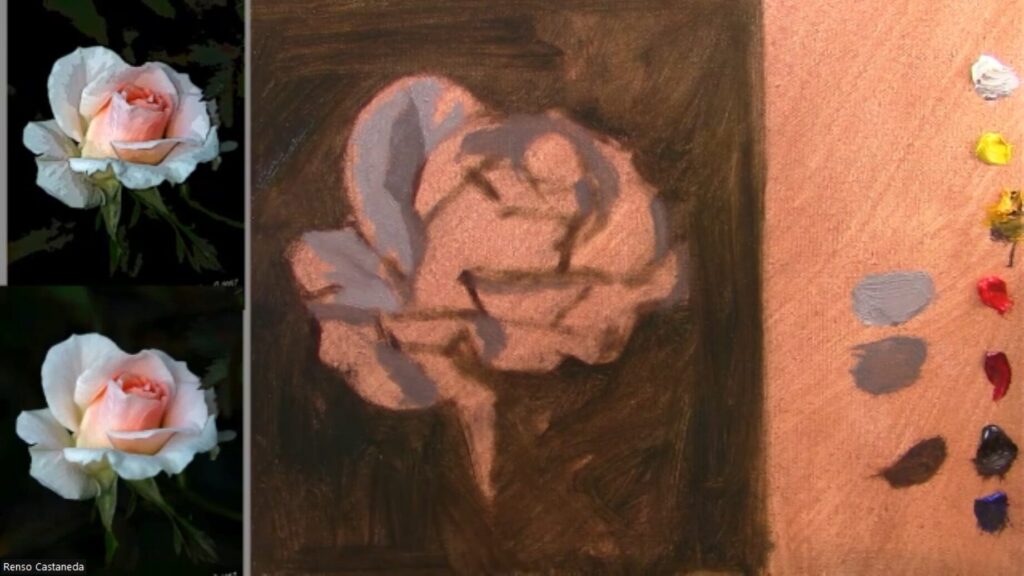
Step 2: Blocking in the Background
2.1 Why Start with the Background?
- A dark background helps judge the values of the white rose accurately.
- It also allows for softer edges where petals meet the background.
2.2 Mixing the Background Color
- Use Raw Umber + Cobalt Blue + Cadmium Yellow for a muted greenish tone.
- Apply thinly at first, then build up opacity for a dark, rich background.
2.3 Refining Edges
- Use the background to define the rose’s silhouette.
- Some edges should be sharp (where petals overlap), while others should be soft (receding petals).
Step 3: Painting the Rose Petals
3.1 Mixing Grays for the Petals
- White roses aren’t pure white—they have subtle cool and warm grays.
- Mix Raw Umber + White for a neutral gray.
- For a bluish-gray, use Black + White + a touch of Orange (to neutralize the blue).
3.2 Applying Values
- Identify three key values:
- Darkest gray (shadow areas between petals).
- Mid-tone gray (transition areas).
- Lightest gray (highlighted petals closest to the light).
- Avoid pure white except for the brightest highlights.
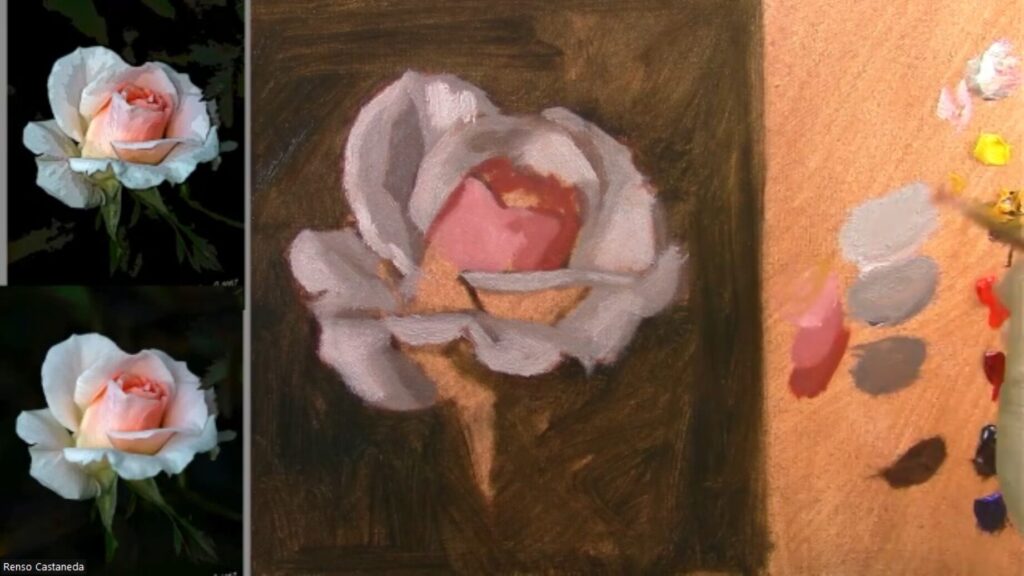
3.3 Creating Depth
- Petals closest to the viewer should have sharper edges and brighter highlights.
- Petals farther back should be softer and slightly darker.
Step 4: Adding Color Variations
4.1 Warm and Cool Tones
- Center of the rose: Add Cadmium Red + Alizarin Crimson for warmth.
- Highlights: Mix Lemon Yellow + White for a soft glow.
- Shadows: Introduce Cobalt Blue + White for cool reflections.
4.2 Enhancing Realism
- Use small, controlled brushstrokes to suggest petal texture.
- Glaze transparent colors (like Alizarin Crimson) in shadow areas for depth.
Step 5: Final Adjustments
5.1 Edge Work
- Sharpen edges on focal petals (e.g., the front-facing ones).
- Soften edges on receding petals to push them back.
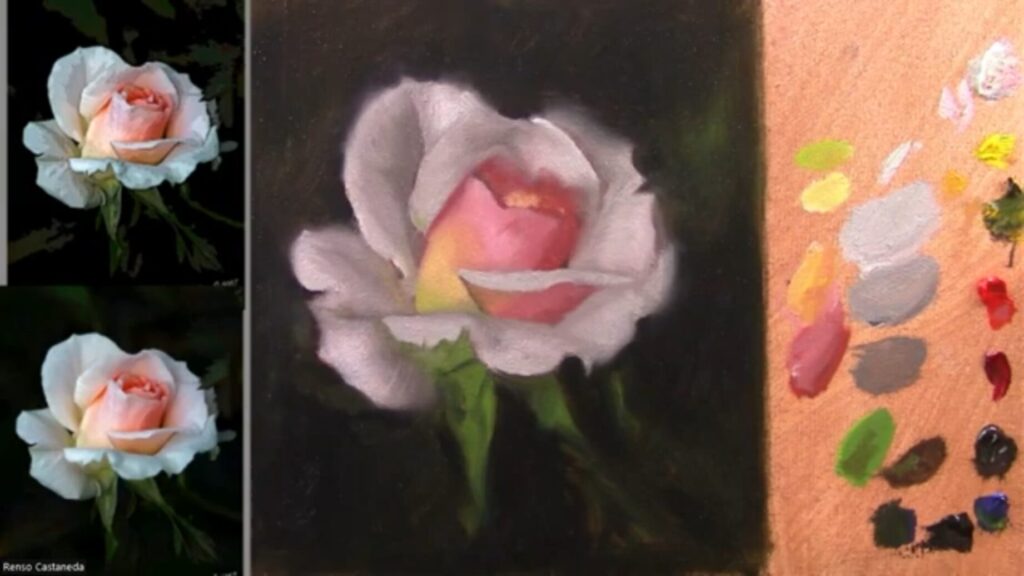
5.2 Highlights and Accents
- Add tiny touches of pure white on the brightest highlights.
- Scumble (lightly drag) a warm or cool glaze over areas to unify tones.
5.3 Stepping Back
- Frequently check your painting from a distance to ensure value harmony.
- Adjust contrasts if needed—sometimes a darker background or brighter highlight makes the rose pop.

Conclusion
Painting a white rose is all about subtlety—soft edges, delicate value shifts, and restrained color. By following these steps, you’ll create a rose that feels luminous and three-dimensional.
Final Tip: Don’t aim for perfection—embrace the painterly quality of brushstrokes for a more artistic result!
Happy painting! 🌹🎨
Support my Art Journey At not cost to you buying Art materials you use from my Amazon Store: https://www.amazon.com/shop/rensoart